Saturday, May 21, 2011

Mocha Icebox Cake, or, The Cream That Wouldn't Whip.


This cake was a near Asphalt Kitchen disaster. It turned out fabulously in the end, but not without some dramatics and a bit of scrambling around Boston.

Chalk it up to my waiting until the eleventh hour to get started. And to my stubborn attempt to get through the recipe without the aid of modern kitchen appliances, such as a mixer...

I was recently gifted a used hand mixer, which I conveniently left at my friends' house because it was too bulky to ride home on my bike with. Lesson about laziness learned! After twenty minutes of furiously whipping cream by hand with a whisk, I threw the first runny (and not remotely whipped) batch out in frustration.

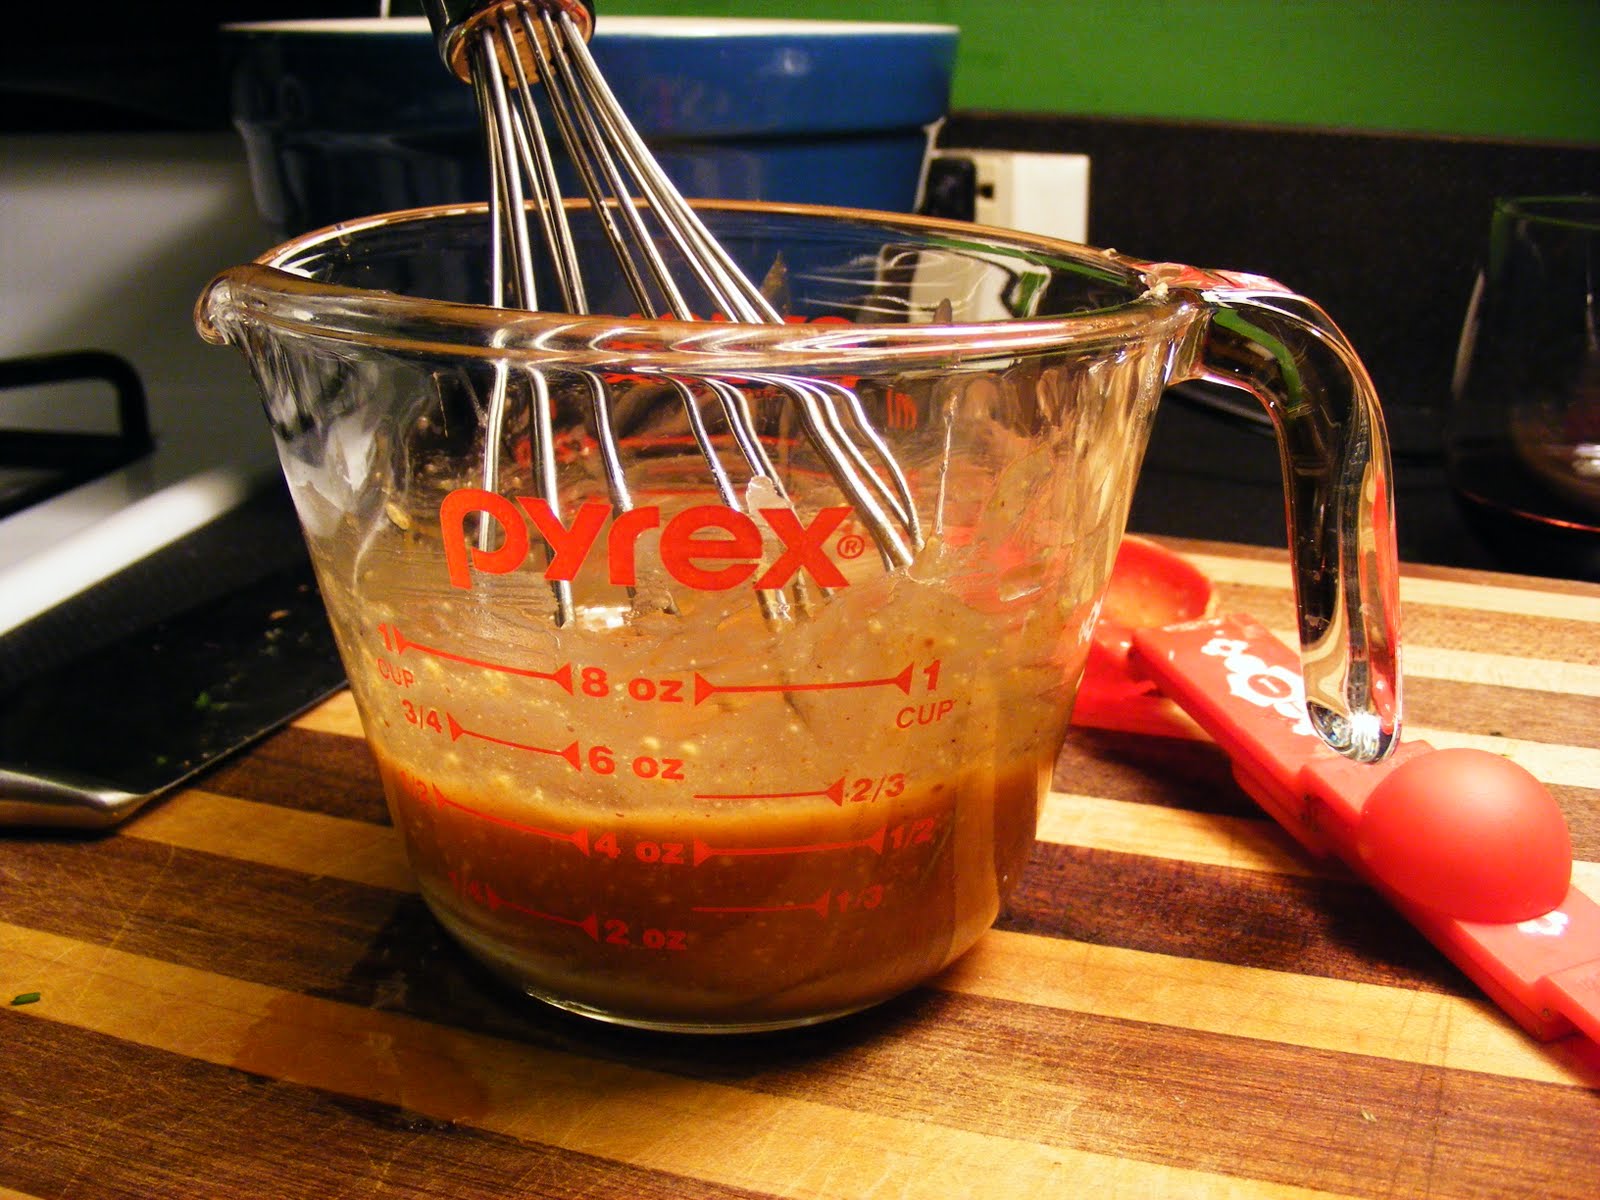
I have whipped cream by hand without difficulty. It's always taken a while, but never before has it seemed impossible. As far as I can tell, I did all things properly this time. I chilled the bowl and whisk. I used very cold heavy cream. I whipped like the dickens. And it never formed peaks. It just looked like this:

Boo! That cream is totally not whipped!

So I trekked across the river, got the hand mixer (with whisk attachment), and started again. And it took two minutes to make whipped cream. And it was really easy.

Moral of the story: just use a darn mixer, if you have access to one.


In all seriousness, this cake is the bomb. I am a big fan of icebox cakes in general. I think they remind me of kid desserts, like Dirt Cups or Ghosts in the Graveyard. This one has just the right amount of coffee taste. It is mousselike and delicious, perfect for a birthday cake!


Mocha Icebox Cake
Adapted from Tara at Seven Spoons

Ingredients
  3 1/2 cups heavy cream, divided (and very cold)
  3/4 cups confectioner's sugar, divided
  1 1/2 tablespoons instant coffee granules
  a pinch of salt
  1 teaspoon vanilla extract
  Large box graham crackers, broken into squares (you'll need 45 total squares)
  1/3 cup chocolate syrup
  1/3 cup cocoa powder, sifted
  A small handful of shaved chocolate (I used a dark chocolate bar and shaved it with a cheese grater)

Preparation
  1. Line an 8X8 metal cake pan with cling wrap, crossed in both directions so that there is an overhang on all sides. Set aside.
  2. In a large, chilled bowl, begin to whip 2 cups of the cold heavy cream using a mixer with wire whisk attachment. Or do it by hand with a wire whisk, if you're better at whipping than I am! As soon as the cream begins to thicken, sift in 1/2 cup confectioner's sugar and add instant coffee granules and salt. Whip until the cream begins to hold soft peaks. Add in vanilla and whip until the cream just holds a stiff peak*
  3. Using a rubber or offset spatula, spread a small amount of the whipped cream on the bottom of the saran-wrap covered cake pan. Lay 9 crackers atop the cream side-by-side in a 3x3 grid. Spoon 1/2 cup whipped cream on top of the crackers and gently spread to cover the crackers entirely. Drizzle a few tablespoons of chocolate syrup over the cream.
  4. Top with another layer of 9 graham grackers, continuing the same layering pattern until you have 5 layers of crackers. Spread the last of the whipped cream onto the 5th layer of crackers, but leave off the chocolate.
  5. Cover the cake loosely with cling wrap, then draw the overhanging cling wrap up over the sides to cover all edges. Refrigerate for at least 6 hours and up to 2 days.
  6. At least an hour before serving, remove the cake from the refrigerator and peel back the cling wrap. Invert the cake onto a serving plate and carefully remove the remaining cling wrap. Smooth out the sides with your spatula, if needed. Place the cake in the freezer, uncovered, to chill for half an hour. 
  7. Meanwhile, prepare the cocoa cream. In the large, chilled bowl, begin to whip 1 1/2 cups of well-chilled heavy cream using a mixer with a wire whisk attachment. Or do it again by hand. As soon as it begins to thicken, sift in 1/2 cup confectioner's sugar and cocoa powder. Whip the cream until it just holds a firm peak*
  8. Take the cake out of the refrigerator and gently spread a layer of the cocoa cream to cover it as you would frosting. Decorate with shaved chocolate. Chill the finished cake in the refrigerator for at least 30 minutes, then serve.
*It's really easy to over-whip your cream and turn it right into whipped butter. Pay close attention to the cream and stop as soon as you like the consistency. 

Tuesday, May 17, 2011

Vegetable Kabobs: Revs 1, Whitecaps 0


My attention this week was focused on making a (very rich and filling) birthday cake for Chris, so I went into this tailgate intending to keep things simple. When it comes to vegetarian grilling, there are few meals simpler than kabobs. Well, maybe frozen veggie burgers, but I'm trying to avoid those until I'm desperately scrambling on the day of some unbearably hot home game. Oh, to imagine the possibility of a hot day at Gillette...

Instead we got more chilly rain.

Bean's keys to the game (of grilling good vegetable kabobs):
  1. Fresh vegetables
  2. A good marinade
  3. Proper arrangement of the veggies on their skewers
Number one is self explanatory. Don't buy crummy looking vegetables. Choose whatever veggies you like. And some fruits, too. Fruits are great on kabobs. Buy what's in season, if you can. This was not an option for me... unless I could manage to make make asparagus, radish, rhubarb and lettuce kabobs. I used zucchini and summer squash (I know, not in season!), peppers, red onion and pineapple (not even remotely local, but it tastes so good on the grill).


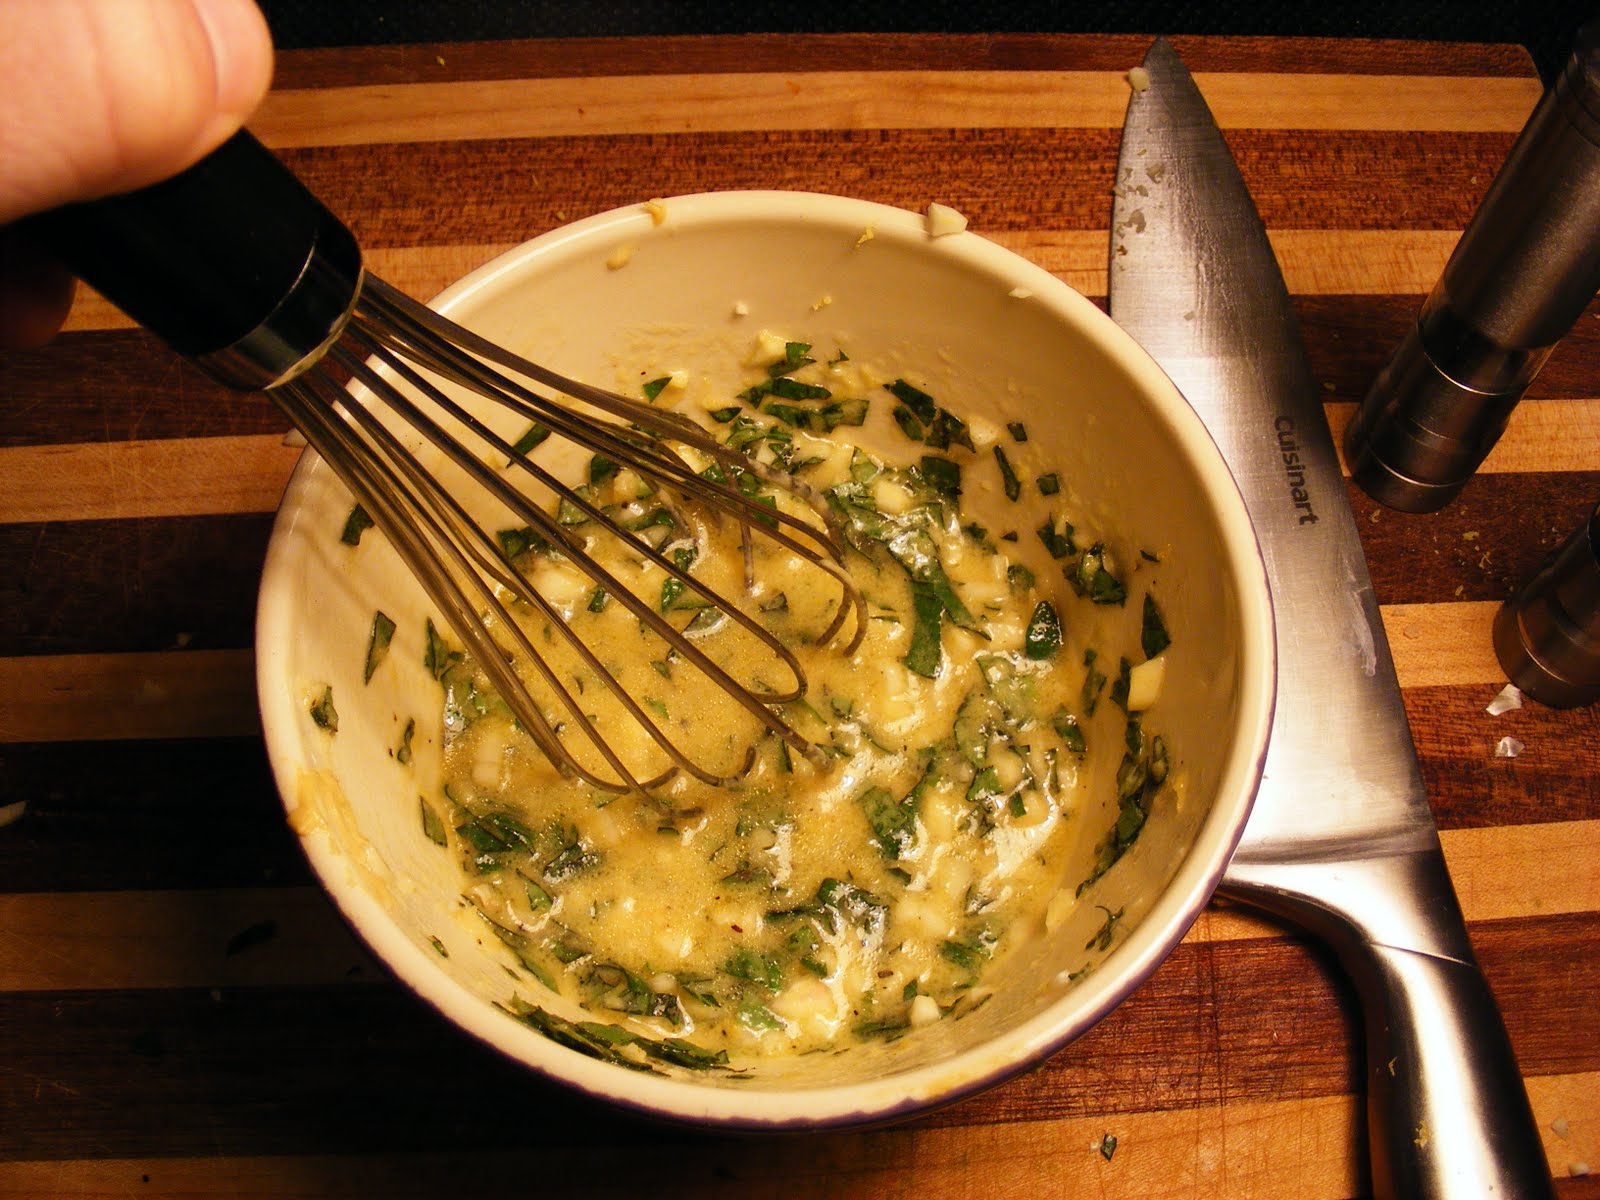
Number two is easier than you'd think. Truthfully, the marinade I made was nothing special. I'm not saying it wasn't tasty. It was just a run-of-the-mill garlicky-lemony-dijony mixture I made a night before the game and refrigerated. You can probably make a marinade right now from ingredients you have on hand in your kitchen. As long as you blend an acid (such as vinegar or lemon juice) with oil, salt, and seasonings, you'll have a marinade. You can substitute any herbs, mustards, oils, and spices you like to shape your flavor (case and point: Steph's Thai Peanut Marinade). I tossed together a quick mixture based loosely on this this Food Network recipe. I upped the oil, downplayed the lemon, and more than doubled the garlic and herbs called for in the original recipe. In haste, I also accidentally spilled a fistful of whole black peppercorns into the mixture. My apologies to Joe Butler, who bit into one of these rogue peppercorns...


Number three is essential. Like me, you are probably accustomed to arranging colorful vegetable chunks of all different sizes vertically on a skewer. Don't do that! If you want your veggies to cook evenly, cut them into thick, even slices and thread them onto the skewers so the cut sides lie flat on the grate. This will help them to cook evenly. Knowing that some types of veggies cook faster than others, I even arranged the skewers so each had only one type of vegetable. Oh yeah, and don't forget to soak your skewers in water before using them! Otherwise you'll enjoy putting out a few skewer fires.


Simple Garlic and Herb Marinade
Adapted (loosely) from Food Network

Ingredients
  2/3 cup olive oil
  1/3 cup freshly squeezed lemon juice
  1 teaspoon lemon zest
  1/4 cup dijon mustard
  1/4 cup water (or white wine!)
  3 tablespoons honey
  6 cloves minced garlic
  1 handful chopped fresh basil leaves
  salt & freshly ground black pepper to taste

Preparation
  1. whisk together all ingredients in a small bowl.
  2. cover and refrigerate
  3. About 2 hours* before grilling, place chopped vegetables in a large ziplock bag and pour marinade over them. Seal bag and shake gently to evenly coat.

*Word to the wise: You want your veggies to absorb the flavor of the marinade, so give them at least 45 minutes to marinate. BUT, don't leave them too long. After 2 hours, the veggies may start to break down and become mushy.

Friday, May 13, 2011

Camp Bananas Foster(ish)


I can't lie. There is no true recipe to this dessert. I've made many versions of fried, caramelized, or otherwise fattened bananas. For some reason my brain wants me to use different ingredients and a different cooking approach each time I make the dish. I've also never once measured the ingredients. Not that this is a bad thing. Experimentation has taught me much of what I know about cooking. (It has also brought on its fair share of kitchen disasters.)

Usually when I get an idea, I just can't seem to let it go. This Saturday I was dead set on keeping ice cream frozen in the trunk of our car for two and a half hours. I don't know whether I wanted ice cream that badly or if I just wanted to prove a point, but somehow it worked. Nestled among cold beer and packed on ice in a hot/cold bag, my vanilla ice cream managed to stay just the right amount of frozen through a car ride from Cambridge to Foxboro and on into an hour of tailgating.


I think it was the ice cream dream that inspired the caramelized bananas, but it didn't hurt my cause that we had a brand new grill equipped with side burner. Which I was dying to test out. 

And test out I did. In a tiny camp saucepan, no less!


Due to the proximity of this saucepan to both a can of propane and several idling vehicles, I opted to forgo the traditional flambe procedure (and with it, the rum). Hence the "ish" in the recipe's title...


Camp Bananas Foster(ish)

Ingredients
 Four bananas, sliced lengthwise and halved
 3 tablespoons butter
 A handful (2/3 cup?) brown sugar
 A smaller handful (1/4 cup?) granulated sugar
 A splash of vanilla extract
 Several pinches (3/4 teaspoon?) ground cinnamon

Preparation
 1. Melt butter in saucepan or deep skillet over hot grill surface or burner.
 2. Stir sugars vanilla and cinnamon in to saucepan
 3. When mixture begins to bubble, add bananas and cook, tossing gently, until hot and lightly browned.
 4. Serve immediately with a scoop of vanilla ice cream

You can add rum, caramel, chopped walnuts, or anything your heart desires to this dish to make it extra special. 

Monday, May 9, 2011

Thai Crunch Salad + Shrimp Skewers: Revs 0, Rapids 0


This weekend, our tailgate festivities were once again threatened by the elements. Thanks to all the folks who helped protect us from the rainstorm! Especially Julie, who, as per usual, came better prepared than I did (with a tent).

Fortunately, the clouds parted long enough to permit our first go-round with the Coleman grill stove I bought for Chris's birthday. Well, actually, Steph tested out the grill with some delicious shrimp and pineapple skewers. I used only the burner to cook camp-style Bananas Foster in a small saucepan. More on that next post...


Our new grill stove was great addition to the tailgate. It's quite small, so it wouldn't be useful for a large group, but it suits our needs perfectly. The grill surface heated up quickly and, surprisingly, is dishwasher safe. You may have noticed that I like to cook a lot of  not-exactly-grillable foods at tailgates, so the added single burner is a bonus. I look forward to making soup and heating up mulled apple cider in the fall!

I'm starting to feel unsure whether this was a gift for Chris or a gift for myself...

Steph brought a lot to the table tonight. In addition to her charm, good looks and yummy skewers, she concocted some delightfully potent Beeritas to inspire a little all-American caricature of a Mexican holiday.


Tonight's Thai Crunch Salad recipe was inspired by Chris's mom, who made a version of the dish at Easter lunch this year. And I believe her dish was inspired by California Pizza Kitchen's salad of the same name. I will warn you, this is not a diet salad. It is borderline habit-forming. I think it's the combination of sweet-nutty-crunchy and slightly spicy that really hits the spot. I do believe my attempt at this salad is at least somewhat less indulgent than the CPK version--a half order at the restaurant appears to have a whopping 39.5 grams of fat. But, truthfully, a salad filled with peanuts is bound to be fatty. Also delicious.


On to recipe...

Thai Crunch Salad
Adapted from Ruth Camille, inspired by California Pizza Kitchen


Serves: a bunch of people (8-10) as a side dish at a tailgate.

Ingredients
 1 small head napa cabbage, thinly sliced
 1 small head red cabbage, cored & thinly sliced
 2 large carrots, peeled & julienned
 1 bunch green onions, thinly sliced
 1 fistful of cilantro, chopped
 2 cups cooked, shelled edamame
 1-2 cups roasted unsalted peanuts (to your taste)
 2 cups crunchy chow mein noodles
 1/2 cup ginger soy vinaigrette or other asian-style dressing
 1/2 cup thai peanut sauce, recipe below

Preparation
 1. Toss cabbages, carrots, onions, cilantro, edamame & peanuts in a large bowl.
 2. Immediately prior to serving, top with ginger soy dressing, chow mein noodles, and thai peanut sauce.

Thai Peanut Sauce
Makes: 1/2 cup


Ingredients
 2 tablespoons natural creamy peanut butter
 1 teaspoon apple cider vinegar
 1 tablespoon honey
 2 teaspoons water
 1 1/2 teaspoons soy sauce
 1 teaspoon toasted sesame oil (optional)
 1 1/2 teaspoons sugar
 1/4 teaspoon cayenne pepper
 A few pinches crushed red pepper flakes
 Kosher salt, to taste
 1 tablespoon canola oil

Preparation
 Whisk together peanut butter, vinegar, honey, water, soy sauce & sesame oil. Add sugar, cayenne, red pepper flakes & salt. While whisking, pour in canola oil and continue mixing until smooth. Use at room temperature.


This recipe made WAY more salad than I was expecting it to. So big that I had to use a stockpot to toss the ingredients because they wouldn't fit into my largest mixing bowl. Seriously. If you're following this recipe and plan to save some of the salad for leftovers, I'd advise leaving off the peanuts, chow mein noodles, and dressings until you are ready to serve. I actually only brought half of the salad and toppings to the tailgate, and it still fed 8 of us (as a side dish). 

Check in soon for my lazy man's camp bananas foster(ish)...

Monday, April 25, 2011

Tangy Mustard Coleslaw: Revs 3, Sporting KC 2

 
Finally, a week filled with excitement and anticipation for Revs fans! Between the addition of USMNT player/heartthrob Benny Feilhaber through the MLS allocation process and the unveiling of a new jersey sponsor, the parking lot (and the internet) were buzzing in the lead-up to this game.


To cap off the week, we were treated to a big win at home. And, miracle of miracles, the rain held off long enough for us to savor the win. This may be coming from the swooning teenage girl inside of me, but I'd say that both Benny Feilhaber and Rajko Lekic made an instant positive impact on the Revs' offensive energy. Considering both were involved in scoring plays, my impish giddiness can't be totally misguided. 


Expecting heavy rain and a generally uncomfortable parking lot experience, Asphalt Kitchen brought it's pregame tailgate indoors. On the menu: Tangy Mustard Coleslaw (recipe below) and Ruined Homemade Veggie Burgers. The burgers were part of a test-run for Asphalt Kitchen's first large-scale catering job at the upcoming American Outlaws Tailgate for the US v. Spain game on June 4th. Stay posted for more on these as the big day draws near. And be sure to come taste them at the tailgate in June! For now:


Tangy Mustard Coleslaw
Adapted from Cooking Light, June 2008


Ingredients
  1/2 head green cabbage, finely shredded
  1/2 medium-sized red onion, thinly vertically sliced
  2 carrots, grated
  1/4 cup white wine vinegar
  2 tablespoons sugar
  2 tablespoons whole-grain mustard
  2 tablespoons mayonnaise
  1/8 teaspoon ground red pepper
  salt and black pepper to taste


Preparation
  1. In a large bowl, whisk together vinegar, sugar, mustard, mayonnaise, and spices.
  2. Add cabbage, onion, and carrots. Toss well to coat.
  3. Cover and refrigerate for 20 minutes. Stir immediately prior to serving.


This 'slaw was easy to make and had just the right amount of kick for me. It tasted excellent served alongside Ruined Homemade Veggie Burgers...even if we had to cook them in a frying pan and eat them while seated at a proper dining table.


On the plus side, since our carload of fans ate at home prior to arriving at the tailgate, we were left with plenty of time for trash can soccer and general parking lot tomfoolery. 


Sunday, April 10, 2011

Grilled Lemon-Basil Tofu Burgers: Revs 0, RSL 2


I am not typically a fan of dishes that feature tofu as centerpiece. In fact, for someone with a pseudo-vegetarian diet, I am not a big fan of tofu altogether. It's a texture thing. Unless it's fried and masked by delightful other flavors (as in Pad Thai), tofu often seems mushy, spongy, and sort of flavorless to me. So I was skeptical about grilling a "burger" made entirely of tofu.

But in the spirit of trying new things, I gave grilled lemon-basil tofu burgers a shot for this Saturday's match vs. Real Salt Lake. To my delight, the result was both crispy and flavorful. Dousing the tofu slices in garlicky, basily, lemony marinade certainly helped. Slathering the bun with a roasted garlic mayonnaise and tomato slices also helped. But I credit the grilling method for much of this dish's success. The direct heat of the grill allowed for a nicely browned exterior and chewy interior.

Note: Do make sure to really drain the tofu prior to slicing and marinating it. This is important if you desire firm, chewy tofu as opposed to squishy tofu. To do this, I place a layer of paper towels on a plate, lay the tofu on top, cover it with another layer of paper towels, and top the whole thing with something flat and heavy (such as a plate with a book on top).

Try it!


Grilled Lemon-Basil Tofu Burgers
Adapted from Cooking Light, August 2006

Ingredients
   1/3 cup (a handful) finely chopped basil
   2 tablespoons dijon mustard
   2 tablespoons honey
   Freshly grated rind of one lemon
   Juice of one lemon (or about 1/4 cup)
   1 tablespoon extra virgin olive oil
   1/2 teaspoon salt
   1/4 teaspoon freshly ground black pepper
   4 garlic cloves minced
   1 lb extra firm tofu
   6 good quality sandwich rolls or hamburger buns
   Optional toppings: arugula, tomato slices, and roasted garlic mayonnaise

Preparation
   1. Drain and press tofu to remove excess liquid. Slice into 6 equal slices (about 1/2 inch thick). Lay slices in a jelly roll pan or tupperware container.
   2. Combine first 9 ingredients in a small bowl and whisk together. Brush both sides of tofu slices with mixture; reserve remaining mixture. Let tofu stand for 1 hour.
   3. Prepare grill.
   4. Place tofu slices on grill rack and grill until golden brown outside (about 3-4 minutes per side). Brush tofu with reserved lemon-basil mixture.
   5. Spread a tablespoon of roasted garlic mayonnaise (or condiment of your choice) on the bottom half of a hamburger bun. Top with one or two tofu slices, a tomato slice, and a handful of arugula.

"What is this, grilling for bunnies?"

Despite grimacing through a two-nil defeat at the hands of RSL's second string (and losing our two starting central midfielders for next Sunday's game in Houston), my parking lot companions kept in good spirits post-match with a rousing game of trash can soccer.

photo credit: Joe Butler

Sunday, April 3, 2011

Julia's Moosewood Chili: Revs 1, Timbers 1


I don't have much to say about last night's game. I guess at least we didn't lose? Aside from rookie Stephen McCarthy netting his first career goal for the Revs, the game was decidedly unremarkable. Attendance at Gillette was an abysmal 7,144. Giving up two points at home against an expansion team was kind of a bummer.

But hey, it was great to see some of my favorite familiar faces in the lot! Our new tailgate location will take some getting used to (supporters groups were moved this year), but I quite enjoyed myself. And I stayed warm, thanks to a little mulled wine...


I mulled the wine at home on my stovetop and brought it to the game in a thermos. To my delight, it was still piping hot after a trafficky ride down 93.

Since I wanted to spend as little time preparing food in the cold as possible, I also cooked veggie chili at home in the afternoon and simply reheated it on the grill at the tailgate. I used a recipe shared with me by renowned formerly-local chef Julia Hawes. Julia was the founder of a weekly potluck held at my friends' apartment (which was, until a few months ago, also my apartment). As I am reprinting Julia's recipe word-for-word, I should probably explain that "TITS" is an acronym for "Thursday is The Shit", which is the name of the potluck.


Vegetarian Chili
Adapted by Julia Hawes from The Moosewood Cookbook

Serves: 6 (full-size portions, not TITS portions...one batch of this is plenty at potluck)
Time: 35 minutes

Ingredients
   3 tablespoons olive oil
   1 onion, chopped
   4 garlic cloves, minced (double what the original recipe called for, as I am of the mind that you can never have too much garlic)
   1 tablespoon ground cumin (I often double this as well, because cumin is fookin' delish)
   1 tablespoon ground coriander
   2 teaspoons chili powder
   1 medium zucchini or summer squash, diced (or both! The more the merrier, just like at that surprise 50th birthday party that Cher threw her dad in "Clueless")
   1 large red or green pepper, stemmed, seeded & chopped
   1 cake tofu, drained and ground, or 12-14 oz. of textured vegetable protein (TVP) (I recommend extra-firm tofu as this kind holds its shape w/o getting too mushy and gross like a lot of tofu. If you go TVP, any ground sausage substitute works well)
   3 cups diced tomatoes with juice (28 oz. can)
   2 cups cooked pinto beans with juice (15 oz. can)
   2 cups cooked kidney beans with juice (15 oz. can)
   2/3 cups tomato paste (6 oz. can)
   2 Tablespoons minced fresh parsley
   Hot sauce to taste
   Salt to taste
   Optional toppings: shredded cheddar/Monterey jack cheese, sour cream, and/or avocado. It would also go nicely with Chris's moldy cornbread

Preparation
   1. Heat oil in nonstick skilled over medium-high heat.
   2. Add garlic and onions and saute until soft.
   3. Ad cumin, coriander and chili powder and stir well.
   4. Mix in diced squash/zucchini and peppers, cover, and cook for 3 minutes.
   5. Stir in ground tofu (a food processor works best) or TVP (doesn't need to be ground, just break it up with a spoon) and cook until heated through.
   6. Meanwhile, heat diced tomatoes, the pinto and kidney beans in a separate pot. Add the tomato paste, and then add the entire tomato mixture to the veggies and tofu (Note: you could probably just add all of that to the veggies pot, not sure the separate heating and subsequent extra dirty pan is necessary)
   7. Make sure the chili is nice and hot. Add salt, parsley, and hot sauce.
   8. Serve in bowls/mugs and top with SC, avo or cheese, the crown jewel ingredient of TITS


My Notes:
-One pot worked fine for me. No need to dirty an extra. Just throw the tomato mixture in with the rest.
-I prefer ground tofu to TVP, but that's a personal preference.
-If you'd like to learn more about Chris's moldy cornbread, please send recipe requests to christophercamille@gmail.com. I should also mention that Chris made delicious quesadillas to go along with the chili.
Related Posts Plugin for WordPress, Blogger...