Friday, June 1, 2012

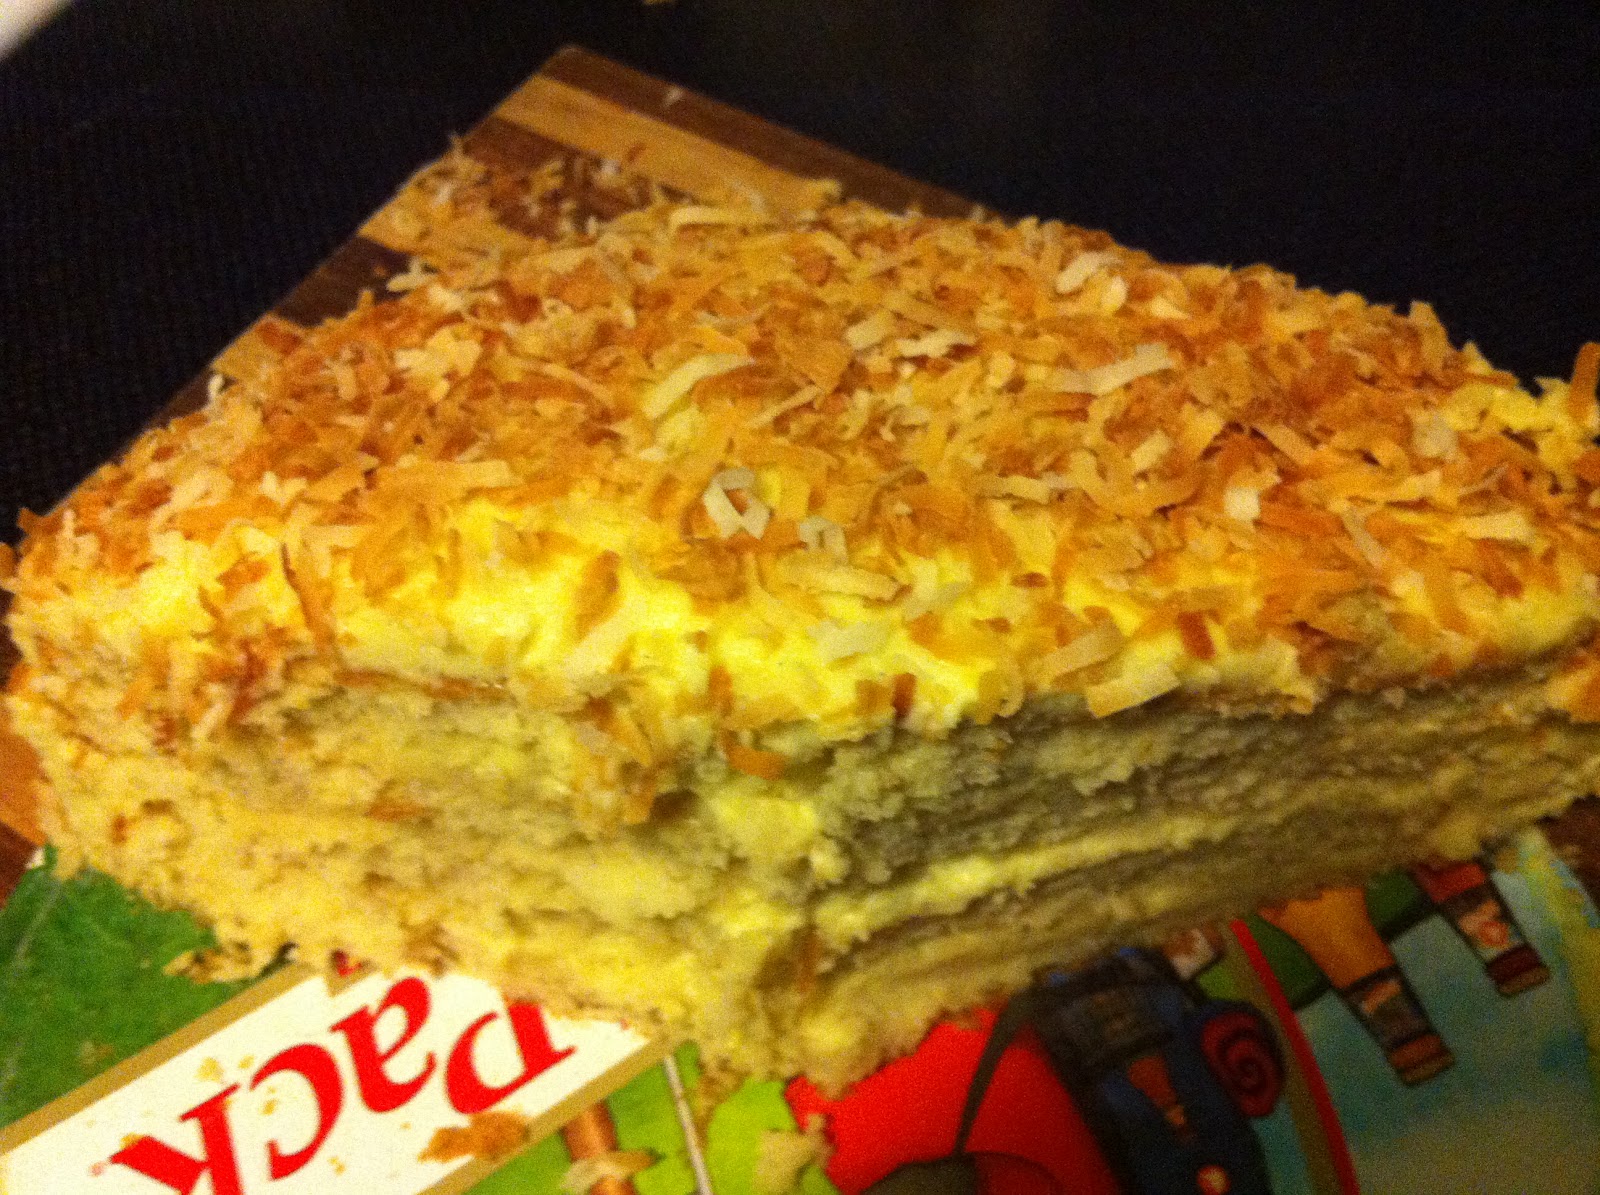
Birthday Toasted Coconut Cream Cake


I don't love cake. Neither does Chris. Sometimes it's too spongy. Sometimes it's too dry. Sometimes the frosting is too sweet. Sometimes all three of these things, unfortunately, are true.

But when birthdays come around, there is no alternative. There must be birthday cake! For Chris's birthday, I was determined to bake a cake that was creamy and flavorful and not too sweet. This toasted coconut cream cake fit the bill. Baking it was a serious undertaking. I dirtied half the dishes in the kitchen: a baking sheet, a saucepan, three bowls (including the mixer), two cake pans. Not to mention it took me half a day to bake. 

The effort was worthwhile and the cake was delicious. If you are a fan of coconut, this cake's for you. I followed the recipe exactly, with no modifications. If you're giving it a try, I have two suggestions:
1. Make the custard and simple syrup a day ahead to save yourself a lot of time.
2. I can't believe I'm saying this, but the buttercream frosting was a little too buttery and not quite sweet enough. I would increase the ratio of powdered sugar to butter if I made this again.


Here is Bobby Flay's recipe, unedited. It can be found at www.foodnetwork.com:

Throwdown's Toasted Coconut Cake with Coconut Filling and Coconut Buttercream

Recipe courtesy Bobby Flay, 2008

Ingredients

Toasted Coconut:

  • 2 cups sweetened flaked coconut

Coconut Simple Syrup:

  • 1 1/2 cups water
  • 1 tablespoon granulated sugar
  • 3/4 cup sweetened flaked coconut

Coconut Custard:

  • 3/4 cup whole milk
  • 3/4 cup unsweetened coconut milk
  • 1/2 vanilla bean, seeds scraped
  • 4 large egg yolks
  • 1/3 cup granulated sugar
  • 3 tablespoons cornstarch
  • 2 teaspoons coconut rum (recommended: Malibu)
  • 1/2 teaspoon pure vanilla extract

Coconut Filling:

  • 3/4 cup coconut custard (recipe above), cold
  • 3/4 cup very cold heavy cream

Coconut Buttercream:

  • 3 stick unsalted butter, softened
  • 1/3 cup confectioners' sugar
  • 3/4 cup coconut custard (recipe above) (cold)
  • Pinch fine sea salt

Cake:

  • 2 tablespoons softened butter, for pans
  • 2 1/4 cups cake flour, plus more for pans
  • 1 cup whole milk, at room temperature
  • 6 large egg whites, at room temperature
  • 1 vanilla bean, split and seeds scraped
  • 1/2 teaspoon pure vanilla extract
  • 1 3/4 cups granulated sugar
  • 1 tablespoon plus 1 teaspoon baking powder
  • 1 teaspoon fine sea salt
  • 12 tablespoons unsalted butter, cut into 12 pieces, slightly cold

For the toasted coconut:

Directions

Preheat oven to 325 degrees F.
Spread the coconut evenly onto a baking sheet and toast until lightly golden brown, stirring once, 8 to 10 minutes. Turn off the oven and let the coconut sit in the oven until very dry and crunchy, about 15 minutes longer.
Bring water and sugar to a boil. Stir in the coconut, remove from the heat and let sit for at least 30 minutes and up to 4 hours. Strain the liquid into a clean saucepan, bring to a boil and let cook until the mixture is slightly reduced, about 5 minutes. Let cool.

For the custard:

Combine the milks and vanilla bean and seeds in a medium nonreactive saucepan and bring to a simmer over low heat.
Whisk together the yolks, sugar and cornstarch in a large bowl. Slowly whisk the warm milk into the egg mixture then return the mixture to the pot over medium heat and bring to a boil, whisking constantly, until thickened. Scrape the mixture into a bowl and whisk in the rum and vanilla extract. Let cool to room temperature then cover with plastic wrap and refrigerate until cold, at least 2 hours.

For the filling:

Combine the custard and cream in a bowl and whip until soft peaks form.

For the buttercream:

Beat the butter and sugar in a stand mixer fitted with the paddle attachment until light and fluffy, about 4 minutes. Add the coconut custard and salt and beat until combined and smooth.

For the cake:

Preheat oven to 350 degrees F. Butter and flour 2 (9 by 2-inch) round cake pans and line bottoms with parchment paper.
Whisk together the milk, egg whites, vanilla bean seeds and vanilla extract in a medium bowl.
In the bowl of a mixer fitted with the paddle attachment, mix together the flour, sugar, baking powder and salt. With mixer running at low speed, add the butter, one piece at a time and continue beating until mixture resembles moist crumbs. Add all but 1/2 cup of milk mixture to crumbs and beat at medium speed until the mixture is pale and fluffy, about 1 1/2 minutes. With mixer on low speed, add remaining 1/2 cup of the milk mixture, increase speed to medium and beat 30 seconds more. Scrape sides of bowl and mix for 20 seconds longer. Divide the batter evenly between the cakes pan and smooth the tops using a rubber spatula.
Bake until a toothpick inserted into the center comes out with a few crumbs attached, 22 to 24 minutes. Cool in the pan on baking rack for 10 minutes. Run a small knife around the side of the pan and invert cakes onto the baking rack, removing parchment paper, and let cool completely, about 45 minutes.

To Assemble:

Using a long serrated knife, slice each cake horizontally into 2 layers. Reserve 1 of the flat bottom layers for the top of the cake. Place another layer on a cardboard round cut side up and brush with some of the coconut simple syrup. Spoon 1/3 of the coconut filling onto the cake and using a small offset metal spatula, spread it into an even layer, leaving a 1/2-inch border around the edge of the cake. Repeat with 2 more layers. Brush the cut side of the reserved cake layer with the remaining syrup. Place the layer cut side down on top of the cake.
Frost the sides and top of the cake with the buttercream. Pat the coconut onto the sides of the cake and sprinkle the remaining coconut on the top of the cake.
Yup. That's a seriously long recipe. If you're brave and you try it, let me know how it turns out! 

Tuesday, May 8, 2012

Fast Food: Revs 2, Rapids 1


I did not make any food for last Wednesday night's pre-game tailgate.

I'd like to say that I didn't make food because I was too busy rushing to the stadium from work, but that would be a lie. In truth, I took the whole day off just to avoid the miserable post-work rush hour traffic stretching from Boston to Gillette Stadium. I had plenty of time to prepare a meal. I just didn't feel like it.

All I wanted on my day off was a (veggie)burger, shake, and fries. And so, en route to Gillette Stadium, we took a detour to b.good in Dedham. Say what you will about this restaurant chain's crunchy, perhaps slightly corny approach (why the lowercase b?) to the whole local food thing. They make a darn good veggie burger. By hand. And they make an even better chocolate malt shake...with ice cream from my neighborhood's own Toscanini's!

If b.good represents the future trend of fast food, I'm on board. Heck, their website offers an item-by-item list of what ingredients they use and where they get them from. If you live in/around Boston and haven't already been, go check one out. Then tell me what you thought of it.


Chris thought it was pretty good:


Aside: Legacy Place in Dedham has a store called Sugar Heaven. While browsing it for Joe's birthday gift, I imagined 200 ways I would overindulge if let loose in such a store as a ten-year-old. Did you know they make powdered candy test tubes?


I will leave you with a depressing photograph of what the stadium looked like for the Revs v. Rapids game:


Sunday, April 22, 2012

Hot Dogs, Two Ways: Revs 1, DC United 2


There are days when I just want to eat a hot dog. This desire goes against logic. I do not eat meat. At this point, I've been not eating meat for long enough that I don't ever crave a burger, or a rib, or a chicken breast, or even a juicy steak. But a hot dog, well, that's different...

We all know that nothing good can come from eating a hot dog. They're made of low quality meat trimmings and fat. They've got loads of preservatives. They're full of fillers, including sodium and lots of nitrates. Of all the foods a vegetarian could want, this is pretty much the lowest common denominator. Hot dogs are barely food. But with the warm and sunny weather and the smell of charcoal wafting through my neighborhood last weekend, all I could think about was a Chicago Dog. So, in the spirit of being an American, I decided to embark on a fake hot dog adventure at the Revs pre-game tailgate.

Modern food science has enabled vegetarians and vegans access to pretty much any manner of imitation meat. Though I can't vouch for the authenticity of meaty taste and texture for many of these products,  I can tell you that they sure do exist:

Comes in log form, just like Grandma made! 
How do they get a bone in there?
I'm not sure what this is a picture of, but it's not bacon.
Unfortunately, some meat substitutes come with massive ingredients lists that contain unpronouncable words. And, let's be honest. Hickory BBQ riblets? What's the point? Bacon Style Rashers? Those don't even look good in the picture on the box. I've had Tofurky before. It tasted kind of like mushy, spongy bread. My family was mildly offended by it at Thanksgiving Dinner, as was my stomach. 

But hot dogs! Thanks largely to the fact that "real" hot dogs don't seem to be made of all that much actual meat...and what meat they have is ground up and smashed back together with fillers anyways...hot dogs seem like they must be one of the easier items to imitate. 

For this little experiment, I used Light life Smart Dogs, which are mostly made of soy protein and wheat gluten with some spices (although I do have to question what "natural smoke flavor" means). I won't pretend these dogs are exactly like the real thing. They're kind of soft, which I attribute to the fact that one would have trouble replicating a small intestine casing. More or less, they're hot dog-flavored tofu cylinders. Hungry yet? I swear. They taste pretty good.

It's really not about the dog for me anyways. The dog is important (and tasty), of course. But I'd never eat a hot dog on its own. It's a topping delivery system. And top it I did!

We had Chicago Dogs:
And Jalapeño Cheddar Dogs:

That's jalapeno cheddar on the left, chicago dog on the right


And, since we had all that mustard and jalapeño cheddar sauce anyways, I made soft pretzels:


The cheese sauce was great, both on a dog and as a pretzel dip. How can you really go wrong with cheese sauce?  Here's the recipe:

Jalapeño Cheddar Sauce

Ingredients
1 tablespoon unsalted butter
1 tablespoon flour
3/4 cup milk
3 cloves garlic, finely grated or minced
1 jalape
ño pepper, finely minced
1 cup cheddar cheese, shredded
1 tsp cayenne pepper
salt & pepper, to taste

Preparation
In a small sauce pan, melt butter over medium heat.  Add flour and whisk to combine, cooking about one minute until smooth.  Add milk, whisking to incorporate.  Add garlic and jalapeño.  Stir mixture frequently until thickened, about 15 minutes.  The sauce should begin to coat the back of the spoon.  Remove from heat and stir in cheese.  Add cayenne pepper, salt and black pepper to taste. 

For the record, I feel no shame for taking pleasure in hot dogs.

Monday, March 26, 2012

Salmon Eggs Benedict: Revs 1, Timbers 0


We're back! The Asphalt Kitcheneers took a lengthy off season hiatus from grilling to pursue some more traditional, parking lot free kitchen endeavors. Including these:

black bean tacos

homemade pretzels (and really good beer!)

Christmas Pierogi
With the return of the Revs to the pitch for last Saturday's home opener, so did we return our cooking efforts to the parking lot of Gillette Stadium for a lengthy and delicious tailgate.

As a supporter of women's soccer, I feel slightly ashamed to admit I did not watch any of the Brazil v. Canada women's friendly (For those who don't follow: the Revs home opener was a double header with the international women's match preceding the men's). But I am certainly not ashamed to admit that I thoroughly enjoyed the five hours of tailgating leading up to the Revs v. Timbers match.

Instead of the lot opening up at 5:30pm for a 7:30pm kickoff, tailgating started at 11am for a 4pm kickoff. So rare is this occasion, we thought it most appropriate to cook a full tailgate brunch. And because I am a nut, I decided to stretch the limits of cooking by poaching eggs on the grill.

To be fair, I did not truly poach them on the grill. My Coleman camping grill stove  is equipped with both a gas grill plate and a single gas burner. I boiled a small amount of water in a pan on the burner and poached the eggs in the traditional manner. Although I did not take many pictures because I needed all my hands for the poaching, I will freely admit that my eggs got a little jellyfishy. I never have been quite able to figure out how to keep the white of the egg together while poaching.

Anyhow, for those of you who are brave, here're all the secrets to salmon eggs benedict - camping stove style.

Salmon Eggs Benedict (a la tailgate)
adapted from James Martin via BBC Good Food


Ingredients
   4 eggs
   2 tablespoons white wine vinegar
   butter, for spreading
   smoked salmon (lox)
   2 english muffins, halved

 For the hollandaise sauce:
   juice of one lemon (about 2 teaspoons)
   2 teaspoons white wine vinegar
   2 egg yolks
   1 stick (4 oz) butter, diced

Preparation
1. First make the hollandaise sauce. Bring a small pan of water to a simmer on your burner. Squeeze the lemon juice and vinegar in a small bowl (one that can rest atop the pan, like a faux double boiler). Add the egg yolks to the bowl and whisk until light and frothy. Place the bowl over the pan of simmering water and whisk until mixture thickens. Gradually add the butter, whisking constantly until thick. Season and set aside. Keep
2. Fill another pan with 2 inches of water. Bring to a boil, then add the vinegar and lower the heat so the water is simmering gently. You want bubbles, but not a rolling boil. Break an egg into a small dish. Stir the water to create a whirlpool, then slide the egg in. Because my pan was quite small, I cooked only two eggs at a time. Cook your egg for 3-4 minutes (until it wobbles, just slightly, when you nudge it with a spoon). Remove with a slotted spoon and let it drain on a paper towel.
3. Lightly toast the muffins face down on the grill. Butter and put a couple slices of salmon on each half. Top with an egg, pour over some hollandaise, and serve.

We served our eggs with lemon ginger scones (recipe from Flour Bakery cookbook)

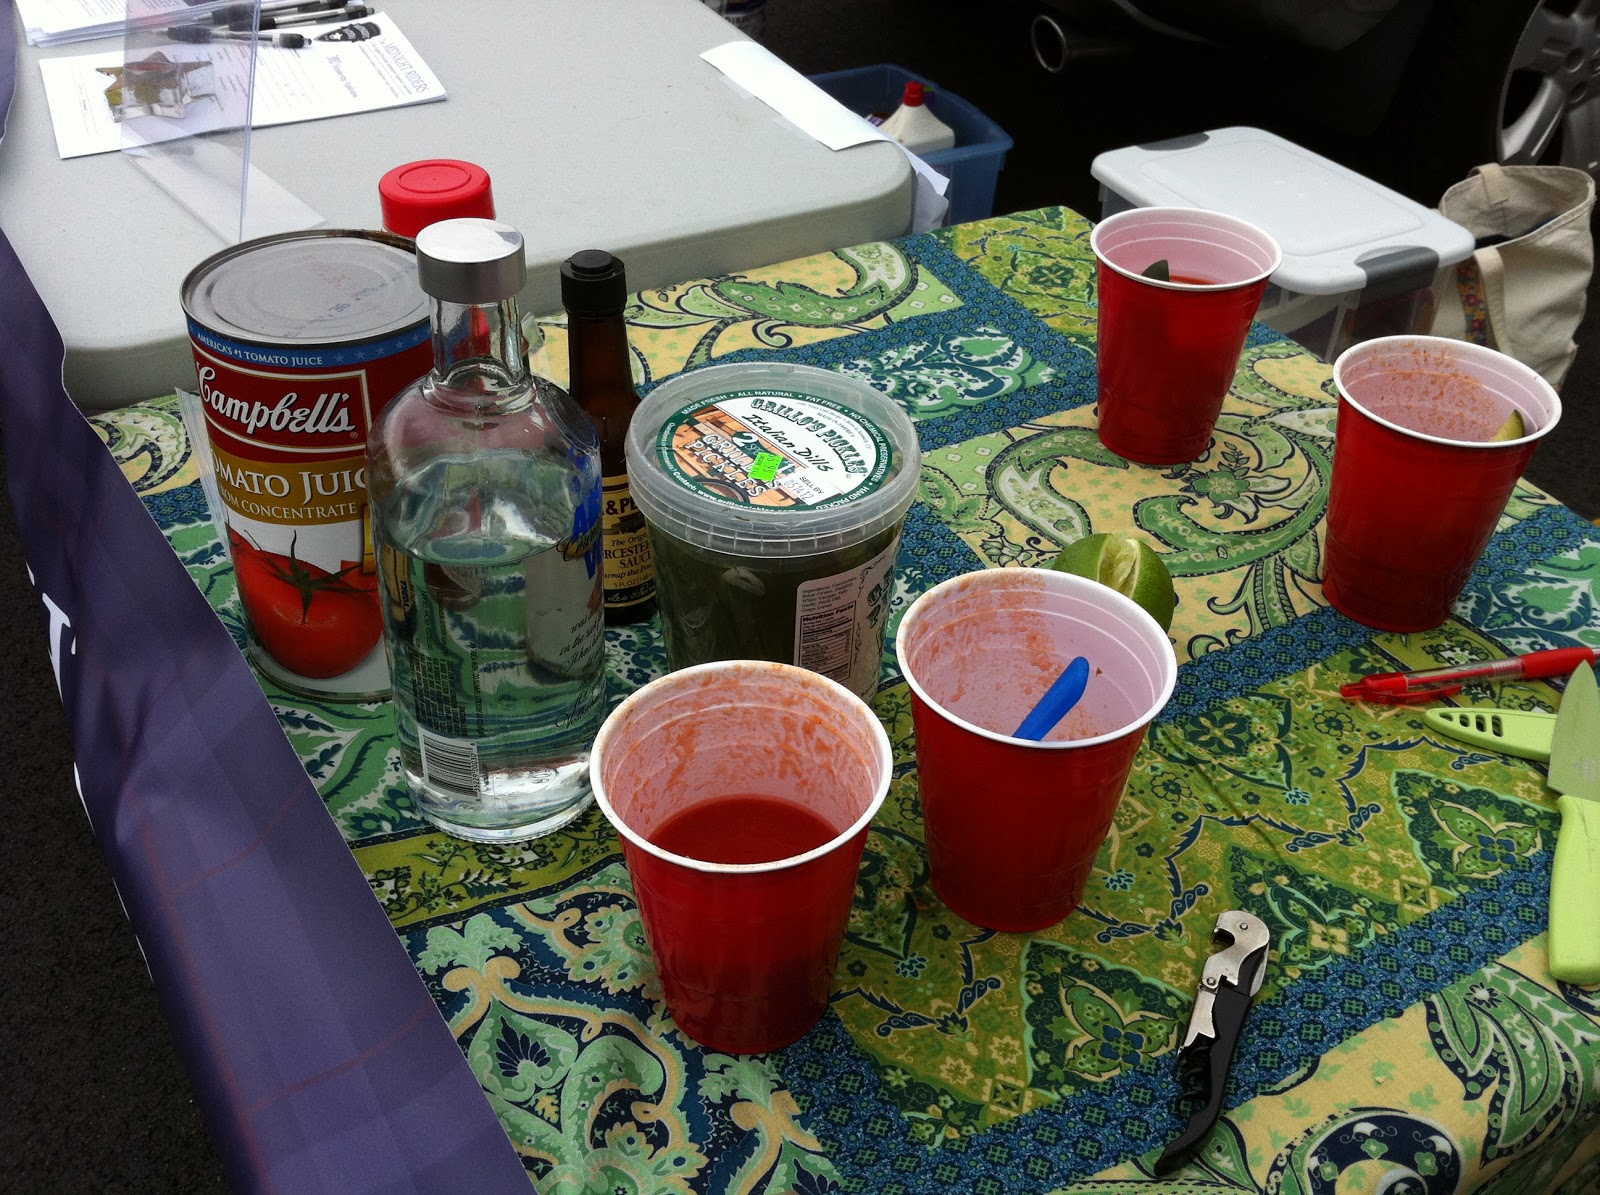
and bloody marys with Grillo's Pickles

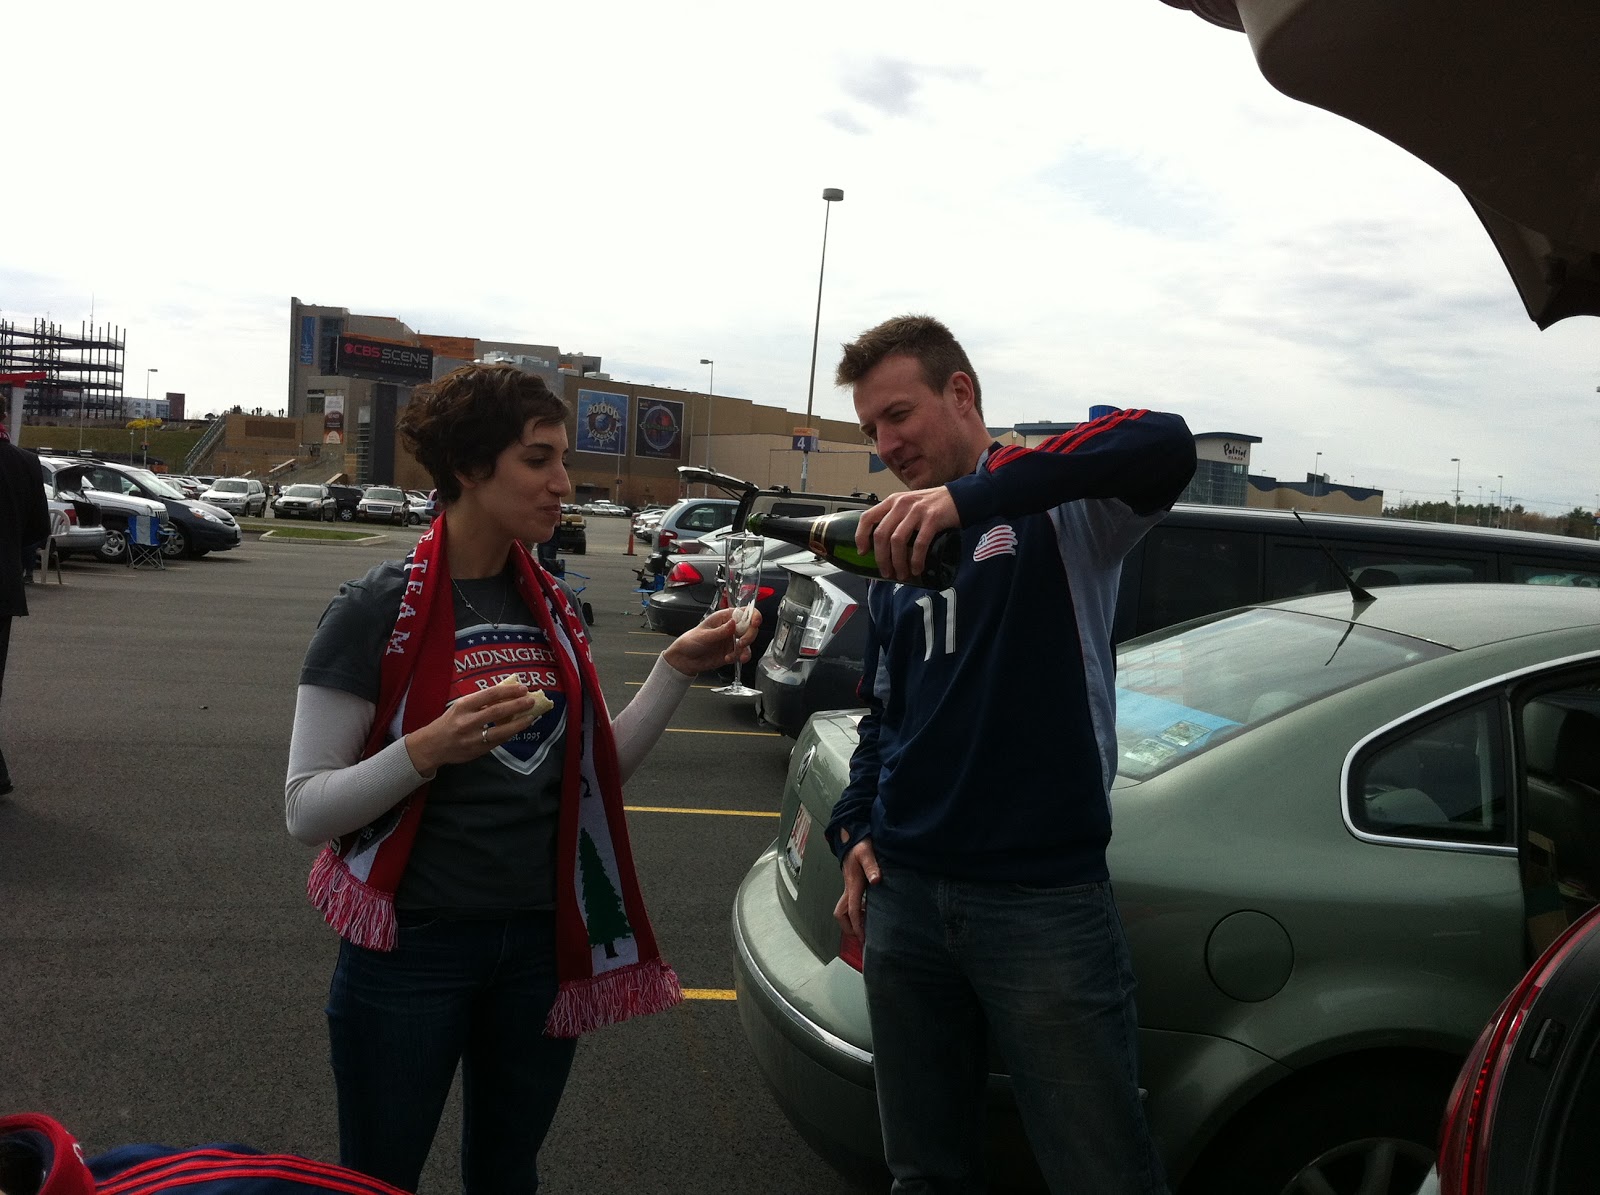
Mike and Dina toasted the win a bit prematurely...

...But fortunately, the Revs came away with a 1-0 win!

Saturday, October 15, 2011

Dutch Oven Apple Crisp: Revs 2, FC Dallas 0


A few weeks ago, the Asphalt Kitchen joined forces with Paperblog Princess to ring in early fall at Gillette Stadium. In order to properly meld our individual blog endeavors, we had two very strict cooking requirements:
1. Cooked on the grill
2. Made in a Le Creuset

I'm a sucker for pretty much any baked fruit, but apple crisp is on top of my favorite desserts list. And so we were decided. It would probably take a really long time to cook apple crisp entirely on the grill, especially considering we couldn't close the grill lid with the Le Creuset sitting atop it. So we thought it most wise to cook the crisp about three quarters of the way at home in the oven and then finish it off on the grill top at the stadium. 

The best baking apples have a good sweet-tart balance and crisp flesh that won't break down as it cooks. We used golden delicious (but Honeycrisps are my favorite!)


I apologize whole-heartedly to whomever I have stolen this recipe from. You see, I wrote the ingredients down years ago from a recipe without noting the source. I have since been unable to find said recipe, but continue to follow it nonetheless.

Apple Crisp
Stolen from somewhere on the internet!
Ingredients
For the filling:
  6 cups tart apples, cored and chopped into 1 inch chunks*
  1 teaspoon lemon zest
  Juice of 1/2 lemon
3 tablespoons granulated sugar
For the topping:
  1/2 cup all-purpose flour
  1/4 cup granulated sugar
  1/4 cup light brown sugar
  1/2 teaspoon cinnamon
  1/4 teaspoon nutmeg
  1/8 teaspoon salt
  6 tablespoons cold butter, cut into pieces
  1/3 cup rolled oats
  1/3 cup chopped walnuts
Preparation
1. Pre-heat oven to 400 degrees. In medium-size dutch oven (or a lightly greased baking pan, if you're skipping the grill), toss the apples with lemon juice, zest, and three tablespoons of granulated sugar.
2. Combine topping ingredients (flour, remaining granulated sugar, brown sugar, cinnamon, nutmeg, salt, butter, oats and walnuts) in a bowl. Use your fingers to mix together until you have a crumbly mixture and you can't see chunks of butter.
3. Bake uncovered for about 30 minutes, or until bubbly and golden brown on top.
4. When ready to eat, transfer dutch oven to grill top and heat for an additional 10 minutes, or until bubbly and heated through.
5. Best served with vanilla ice cream. Guess who forgot to bring the ice cream? Yeah, I did.

*Some folks peel their apples, but I prefer to leave the skins on when I bake them. Just a matter of preference.

Steph enjoys some apple crisp, sans ice cream 

To complement our apple crisp, we cooked up pretty much everything we had in our farm share. Steph made delicious roasted root veggies and peppers: 


Which we heated on the camping stove while grilling some corn:


The finished meal.

All right, time for me to get cooking for the last home game of the Revs worst season ever! I'll try to get it posted before next season starts...


Related Posts Plugin for WordPress, Blogger...