Showing posts with label recipe. Show all posts

Thursday, July 21, 2016

Recipe: Super Seedy Granola Bars For a Festival! (Vegan)


I've got a few race recaps on the docket, but first, there are more pressing matters to attend to: Festival snacks!

The greatest weekend of all the weekends of the year is upon us. It is the eve of the Newport Folk Festival. Although Chris and I will be participating in an abbreviated version of this weekend's events (Chris is in a good friend's wedding on Saturday), we couldn't be more excited to lay out our blanket, drag out our cooler, and soak in the music-filled breeze at Fort Adams on Sunday.


In the spirit of music festival stereotypes, I will share my new favorite granola bar recipe. These granola bars are seriously addictive. As I was packaging them away, I found myself driven to cut off the edges of the "crooked ones" and eat the leftovers. Obviously, all of the bars were "crooked ones".

The recipe is from Dana at Minimalist Baker. It is one of her many simple granola bar recipes and it is full of seeds, sweetened by dates and maple syrup, and so very good. I didn't change much from her original recipe. I simply added dried tart cherries and chopped dark chocolate and I cut the bars into smaller servings than suggested.

Super Seedy Granola Bars
adapted, very slightly, from Minimalist Baker

Ingredients
  • 1 1/2 cups rolled oats
  • 1/2 cup raw almonds, roughly chopped
  • 1 heaping packed cup medjool dates, pitted
  • 2 Tbsp chia seeds
  • 2 Tbsp sunflower seeds
  • 2 Tbsp flax seeds
  • 2 Tbsp hemp seeds
  • 1/4 cup maple syrup
  • 1/4 cup creamy salted natural peanut butter or almond butter (I used Teddie peanut butter)
  • 1/3 cup dried unsweetened tart cherries (optional*)
  • 40g (1.4 oz) chopped dark chocolate (optional*)

Instructions
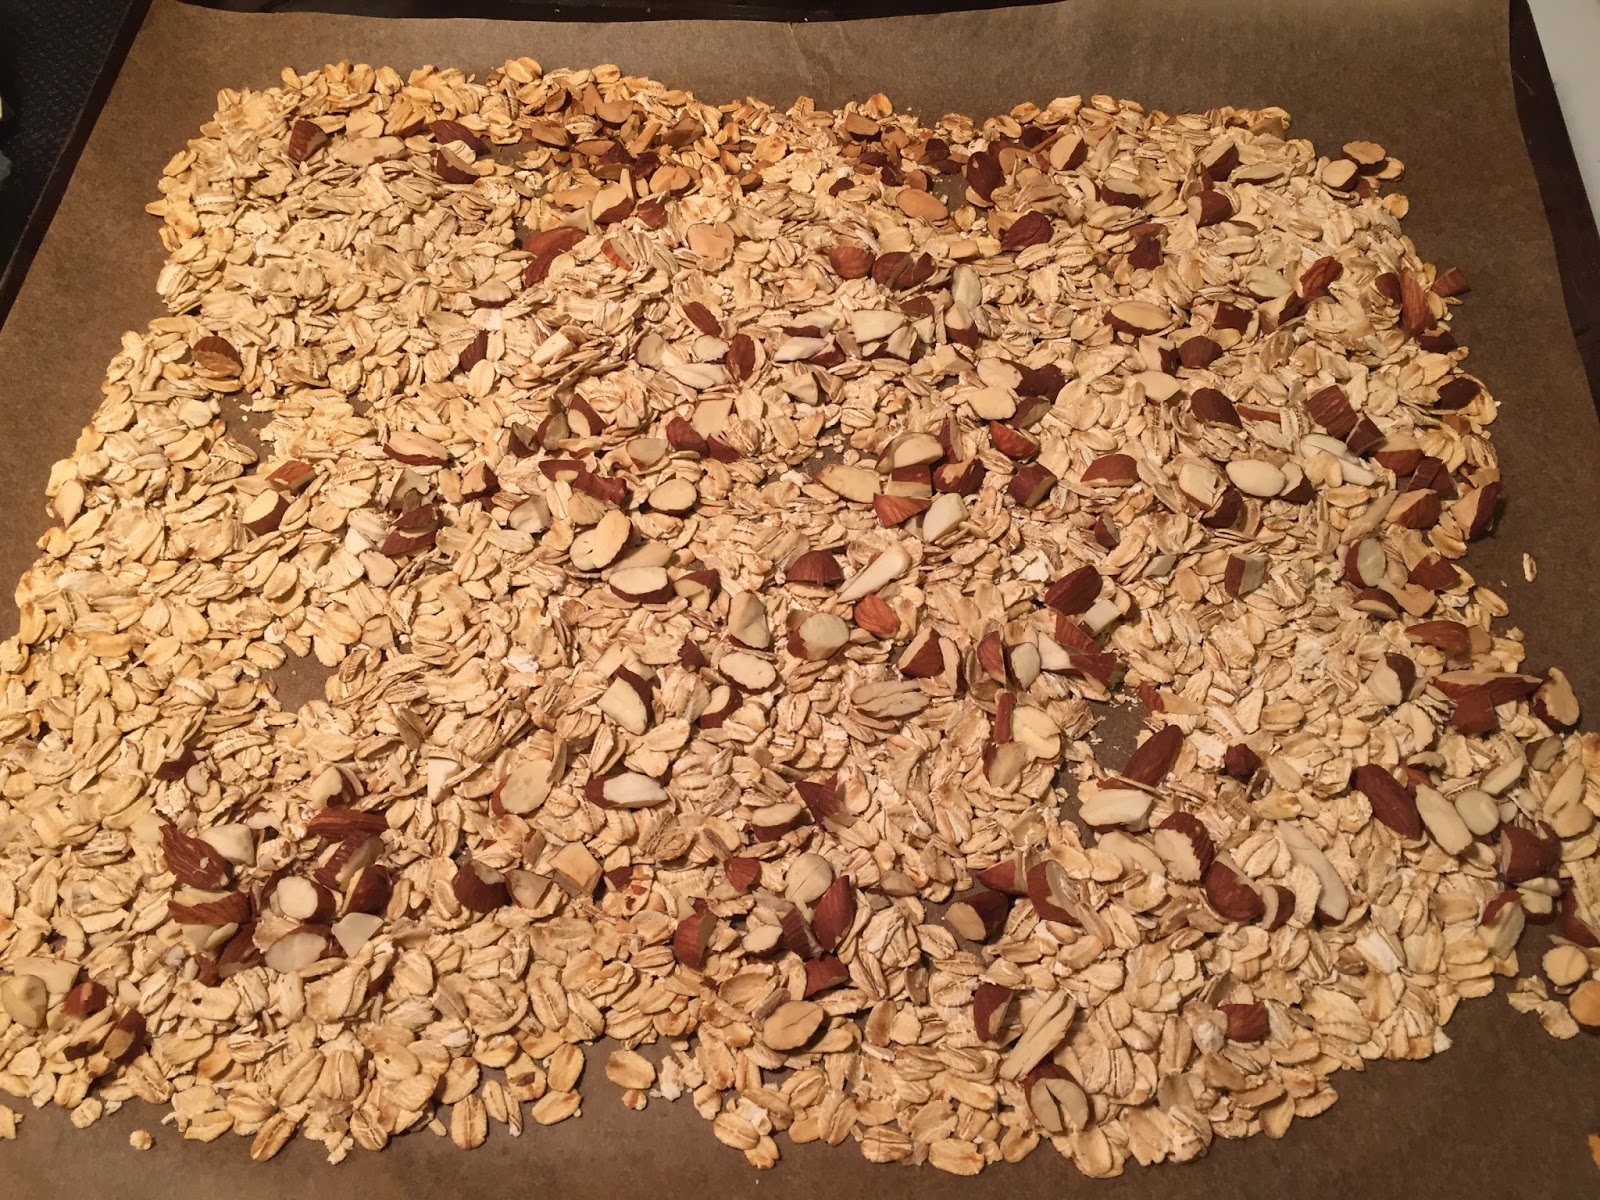
  1. Toast your oats and almonds in a 350 degree oven for 13-15 minutes or until slightly golden brown. 
  2. Process dates in a food processor until small bits remain (about 1 minute) and dates have a dough-like consistency. Mine rolled into a ball.
  3. Pour oats, almonds, and dates into a large mixing bowl. Add all of the seeds and set aside.
  4. Warm maple syrup and peanut butter in a small saucepan over low heat. Stir and pour over oat mixture and then mix, breaking up the dates to disperse throughout. Use a spoon or your hands to thoroughly mix. Add in cherries and chocolate and mix again until evenly distributed.
  5. Transfer to an 8x8 dish or other small pan lined with plastic wrap or parchment paper so they lift out easily. I only have a 9x13 pan, so I used 2/3 of the pan. 
  6. Cover the mixture with parchment or plastic wrap and press down with something flat, such as  a book, to get them flat and packed tight. This will help prevent them from crumbling. Chill in the freezer for 15-20 minutes to harden. 
  7. Remove bars from dish and chop into 20 even bars (the original recipe called for 10, but I like smaller snack-size bars. Store in an airtight container for up to a few days. I like them best straight out of the freezer.
* You don't need the dried fruit or chocolate, but I think they taste excellent. You could substitute in raisins, dried cranberries, etc. Although I chopped up a dark chocolate bar I had hanging out in my freezer, you could also use vegan chocolate chips, etc. 


Newport, we're ready for you!

Wednesday, May 4, 2016

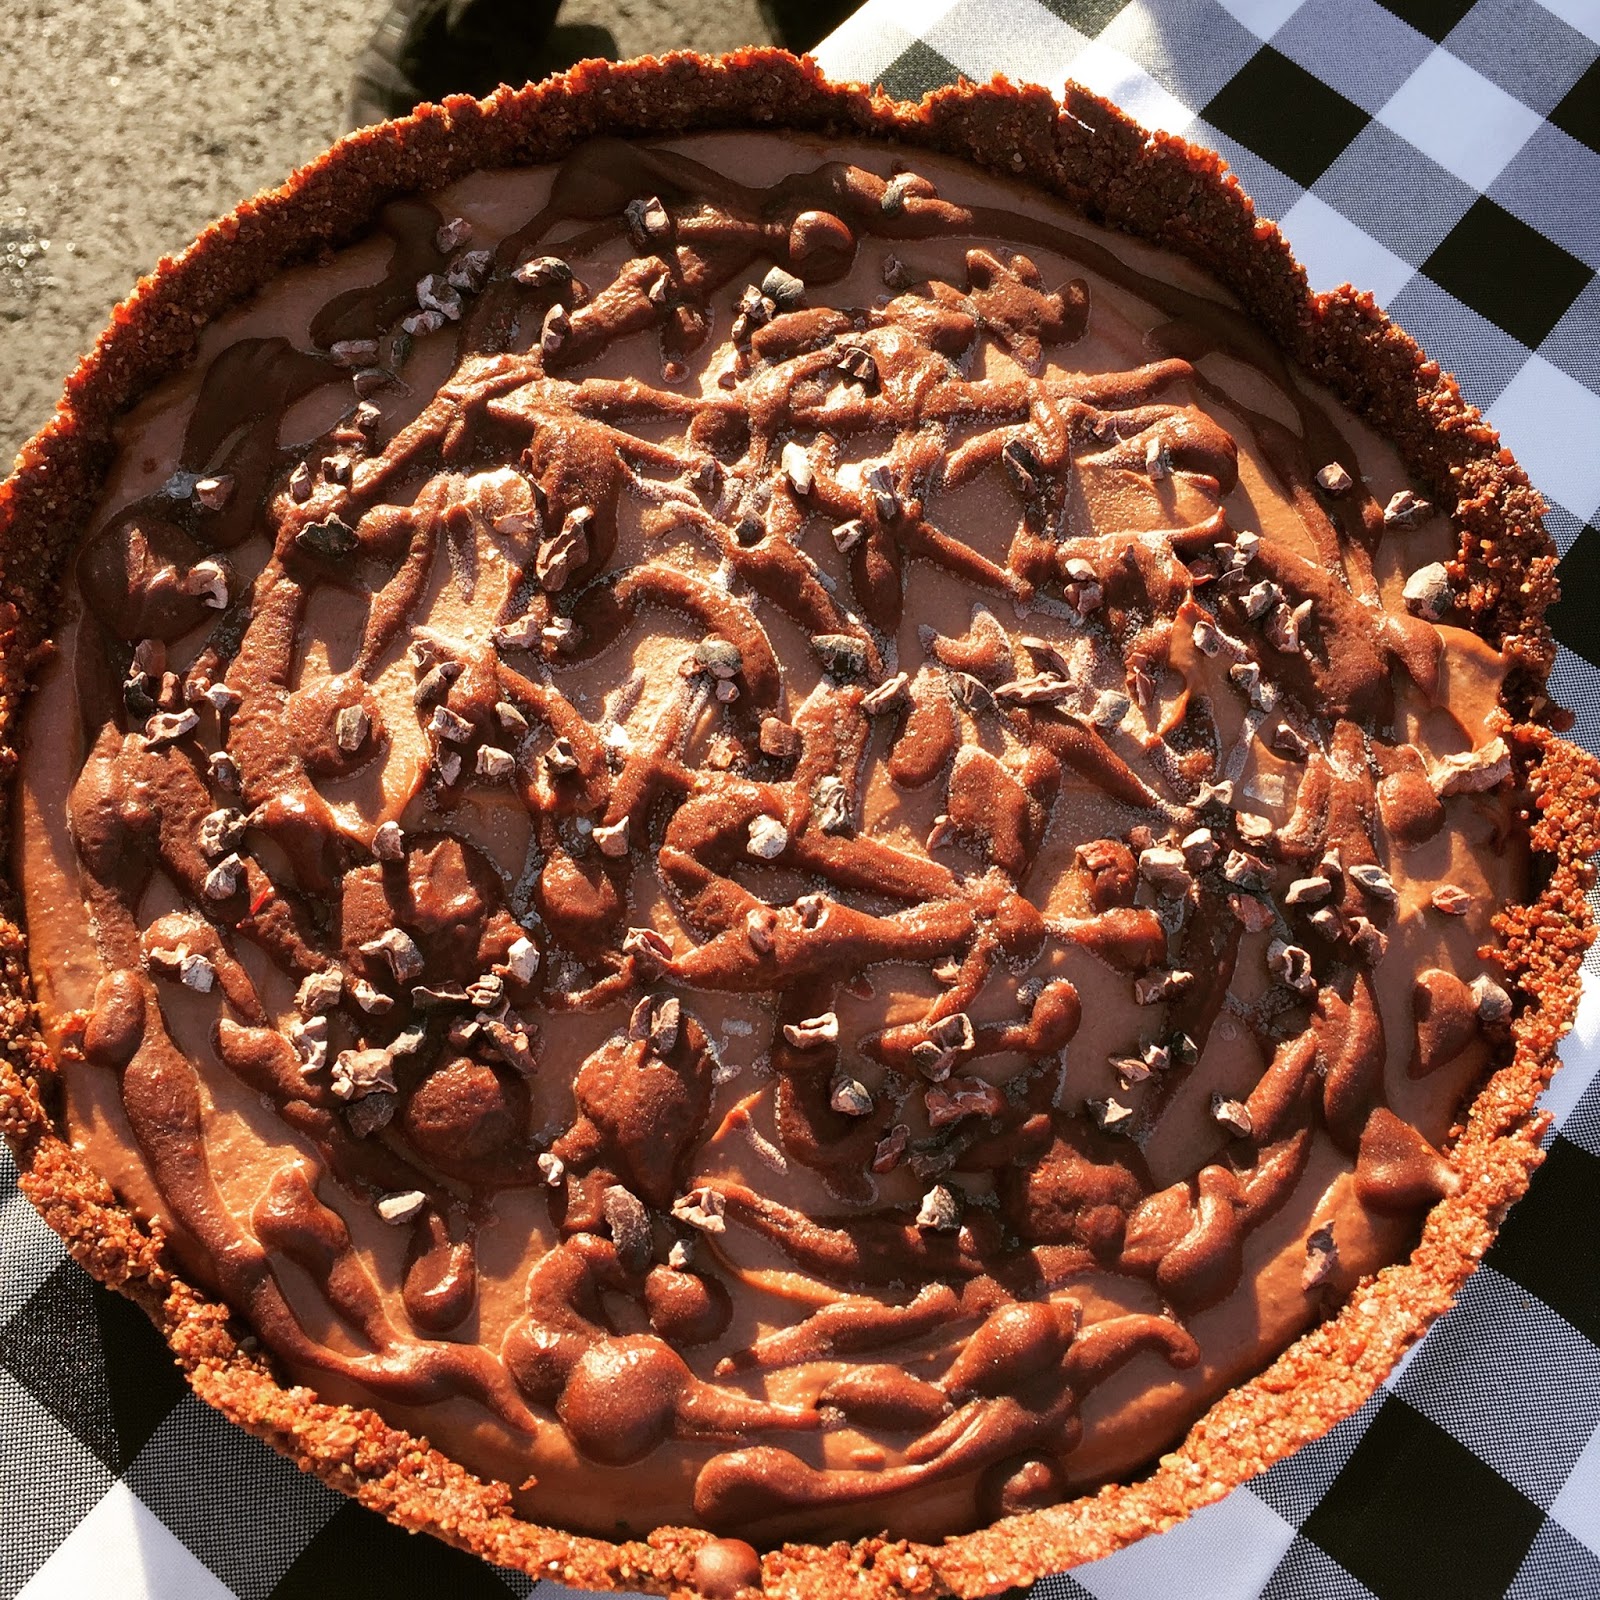
Recipe: Chocolate Peanut Butter Ice Cream Cake (Vegan + GF)


If you've read my blog before, you may know that I hate baking but I love pulling out the stops for a serious birthday cake.

There was Chris's 29th birthday German chocolate cake,


And his 30th birthday coconut layer cake.


There was Julie's vanilla buttercream cake.


I have no idea why I have no pictures of the finished cake product. But it was my first time using a Kitchenaid Mixer in all its glory. Man, did I hate those green grapes painted on my kitchen wall

Joe's mocha ice box birthday cake was served at a Revs tailgate.


Becca's funfetti birthday cake had all the sprinkles I could find in the store.


Never before have I attempted a vegan birthday cake! But a birthday needs a cake, even if the cake maker is dabbling in veganism.

I personally prefer ice cream cake over layer cake. I asked my parents for a Carvel cake for every birthday I can remember. So when I learned that Joe and Kyle would be traveling to Gillette Stadium for a New England Revolution game on Joe's birthday, I set out to make some semblance of an ice cream cake using no dairy.


I turned to the internet for guidance. What did you vegans do for inspiration before Google and Pinterest and Blogging? A quick Google search led me to Emily's recipe for deep dish chocolate peanut butter ice cream pie on her amazing blog This Rawsome Vegan Life. One look at her photographs and there was no turning back.

There is no baking involved in making this "ice cream" cake and it's made of pretty amazingly delicious real stuff. I modified Emily's original recipe only slightly, mostly because the spring form pan Steph loaned me was 9 inches and the one Emily used in her recipe was 7. You can adjust the crust and filling ratio as needed.


Chocolate Peanut Butter Ice Cream Cake (Vegan + Gluten Free)
Recipe adapted from This Rawsome Vegan Life
Makes one 9-inch cake (serves 10-12)

Ingredients
For the crust:
  • 1 1/3 cups pitted medjool dates
  • 2/3 cup hemp seeds
  • 1/3 cup flax meal
  • 1/3 cup almond meal
  • 3 tablespoons raw cacao powder
For the filling:
  • 4 frozen bananas
  • 1 1/3 cups pitted deglet or medjool dates
  • 2 cups raw cashews, soaked in water overnight
  • 2 tablespoons coconut oil
  • 1 1/4 cups almond milk (or non-dairy milk of choice)
  • 1/4 cup raw cacao powder
  • 2 tablespoons natural creamy peanut butter, plus a little extra for swirling in and topping. (My favorite brand is Teddie
For the chocolate sauce:
  • 2 tablespoons raw cacao powder
  • 2 tablespoons maple syrup
  • 1 tablespoon coconut oil

Cooking Directions
  1. Make the crust. Pulse the hemp seeds, flax meal, almond meal and 3 tablespoons cacao in a food processor until they become a rough flour. Add the dates and process until the mixture becomes sticky and soft. Press mixture into the bottom and up the sides of a spring form pan to make a uniform crust. Chill in the refrigerator.
  2. Make the chocolate sauce. In a small bowl, melt the coconut oil by microwaving for about 15 seconds. Whisk in the syrup and cacao powder until smooth. 
  3. Make the filling. Blend all filling ingredients until smooth, adding water or non-dairy milk as needed to achieve a creamy consistency. Spread filling evenly into your chilled crust, intermittently swirling in peanut butter and chocolate sauce. Drizzle peanut butter and chocolate sauce over the top of the cake. Place cake in freezer overnight or until frozen solid. When you're ready to serve, allow to thaw for a few minutes so the cake is creamy and easy to slice. Maybe eat it with some chili in a parking lot.

Friday, April 8, 2016

Recipe: Kale + Edamame Dumplings (Vegan)

Dumplings intimidate me. They seem so delicate and precise, I've always imagined them to be painstaking to make. When I consider that I've been making pierogi with my aunt and cousins for years, this fear seems rather silly. Pierogi are nothing more than Polish potato dumplings.


I have conquered my fear. Surprise! Making dumplings can be way easy. The recipe I followed, from Em at This Rawsome Vegan Life, creates a simple, almost-pureed dumpling filling made of lightly steamed kale and edamame with a touch of tahini, lemon, and garlic. I used my Vitamix and ended up with a thick bright green filling that was easy to scoop and shape in the dumpling skins.


I recently purchased this bamboo steamer for my kitchen and I couldn't be more pleased with how gently and efficiently it steams my vegetables. And now it steams my dumplings, too!

The use of store-bought dumpling skins is a time and effort saver in this recipe. If you're feeling ambitious, you can certainly make your own wrappers using any basic dough recipe you like.

The only part of Em's recipe I took liberty with was the dipping sauce, replacing her simple dipping sauce with my favorite basic soy ginger sauce.

These are so good. I want to make them again. Like now.


Kale Edamame Dumplings
Adapted, slightly, from This Rawsome Vegan Life
Vegan

Ingredients
Filling
  • 3 cups kale, roughly chopped and lightly steamed
  • 1 cup edamame beans, steamed
  • 3 garlic cloves, chopped
  • 1 tbsp tahini
  • 2 tbsp lemon juice
  • 2 green onions, sliced
  • Salt & pepper, to taste
  • 1 tbsp maple syrup
  • Black sesame seeds (optional)
Dipping Sauce
  • 1/2 cup soy sauce
  • 1/4 cup rice vinegar
  • 2 garlic cloves, minced
  • 1-inch knob ginger, peeled and grated
  • 1/2 teaspoon maple syrup
  • Sriracha, to taste
  • 2 green onions, thinly sliced
About 20 dumpling skins (I used Nasoya won ton wraps, which I found next to the tofu in Whole Foods. If you live near an Asian grocery market or a specialty store, there is likely a wider selection of dumpling wraps to choose from.

Instructions
  1. Make the filling. Blend all filling ingredients together in a food processor or blender until you get a chunky paste. Taste and adjust seasonings accordingly. 
  2. Assemble the dumplings. Place a rounded tablespoon of filling onto each dumpling skin. Using your fingers with a few drops of water, moisten the edge of the skin halfway around. Fold over and pinch edges. If you have round dumpling skins, you'll have a half moon shape and you can create small folds along the edge. If you have square dumpling skins, as I did, you can fold into a triangle and bend the bottom corners toward one another to make a cute little purse.
  3. Steam the dumplings until they're somewhat translucent (3-5 minutes). Garnish with some sesame seeds.
  4. To make the dipping sauce, put all the sauce ingredients in a jar with a lid and shake it. 

Saturday, October 15, 2011

Dutch Oven Apple Crisp: Revs 2, FC Dallas 0


A few weeks ago, the Asphalt Kitchen joined forces with Paperblog Princess to ring in early fall at Gillette Stadium. In order to properly meld our individual blog endeavors, we had two very strict cooking requirements:
1. Cooked on the grill
2. Made in a Le Creuset

I'm a sucker for pretty much any baked fruit, but apple crisp is on top of my favorite desserts list. And so we were decided. It would probably take a really long time to cook apple crisp entirely on the grill, especially considering we couldn't close the grill lid with the Le Creuset sitting atop it. So we thought it most wise to cook the crisp about three quarters of the way at home in the oven and then finish it off on the grill top at the stadium. 

The best baking apples have a good sweet-tart balance and crisp flesh that won't break down as it cooks. We used golden delicious (but Honeycrisps are my favorite!)


I apologize whole-heartedly to whomever I have stolen this recipe from. You see, I wrote the ingredients down years ago from a recipe without noting the source. I have since been unable to find said recipe, but continue to follow it nonetheless.

Apple Crisp
Stolen from somewhere on the internet!
Ingredients
For the filling:
  6 cups tart apples, cored and chopped into 1 inch chunks*
  1 teaspoon lemon zest
  Juice of 1/2 lemon
3 tablespoons granulated sugar
For the topping:
  1/2 cup all-purpose flour
  1/4 cup granulated sugar
  1/4 cup light brown sugar
  1/2 teaspoon cinnamon
  1/4 teaspoon nutmeg
  1/8 teaspoon salt
  6 tablespoons cold butter, cut into pieces
  1/3 cup rolled oats
  1/3 cup chopped walnuts
Preparation
1. Pre-heat oven to 400 degrees. In medium-size dutch oven (or a lightly greased baking pan, if you're skipping the grill), toss the apples with lemon juice, zest, and three tablespoons of granulated sugar.
2. Combine topping ingredients (flour, remaining granulated sugar, brown sugar, cinnamon, nutmeg, salt, butter, oats and walnuts) in a bowl. Use your fingers to mix together until you have a crumbly mixture and you can't see chunks of butter.
3. Bake uncovered for about 30 minutes, or until bubbly and golden brown on top.
4. When ready to eat, transfer dutch oven to grill top and heat for an additional 10 minutes, or until bubbly and heated through.
5. Best served with vanilla ice cream. Guess who forgot to bring the ice cream? Yeah, I did.

*Some folks peel their apples, but I prefer to leave the skins on when I bake them. Just a matter of preference.

Steph enjoys some apple crisp, sans ice cream 

To complement our apple crisp, we cooked up pretty much everything we had in our farm share. Steph made delicious roasted root veggies and peppers: 


Which we heated on the camping stove while grilling some corn:


The finished meal.

All right, time for me to get cooking for the last home game of the Revs worst season ever! I'll try to get it posted before next season starts...


Thursday, September 8, 2011

Grilled Caprese Lasagna: Revs 2, Red Bulls 2


In the span of one week, three friends independently e-mailed me the same Food Network recipe for lasagna on the grill. I've never received specific tailgating requests or recommendations (aside from Joe requesting Mocha Icebox Cake for every home Revs game). So, in the spirit of listening when folks advise me to do something, I tried it.

And you know what? It turned out to be, hands down, the best meal I've made on the grill all year.

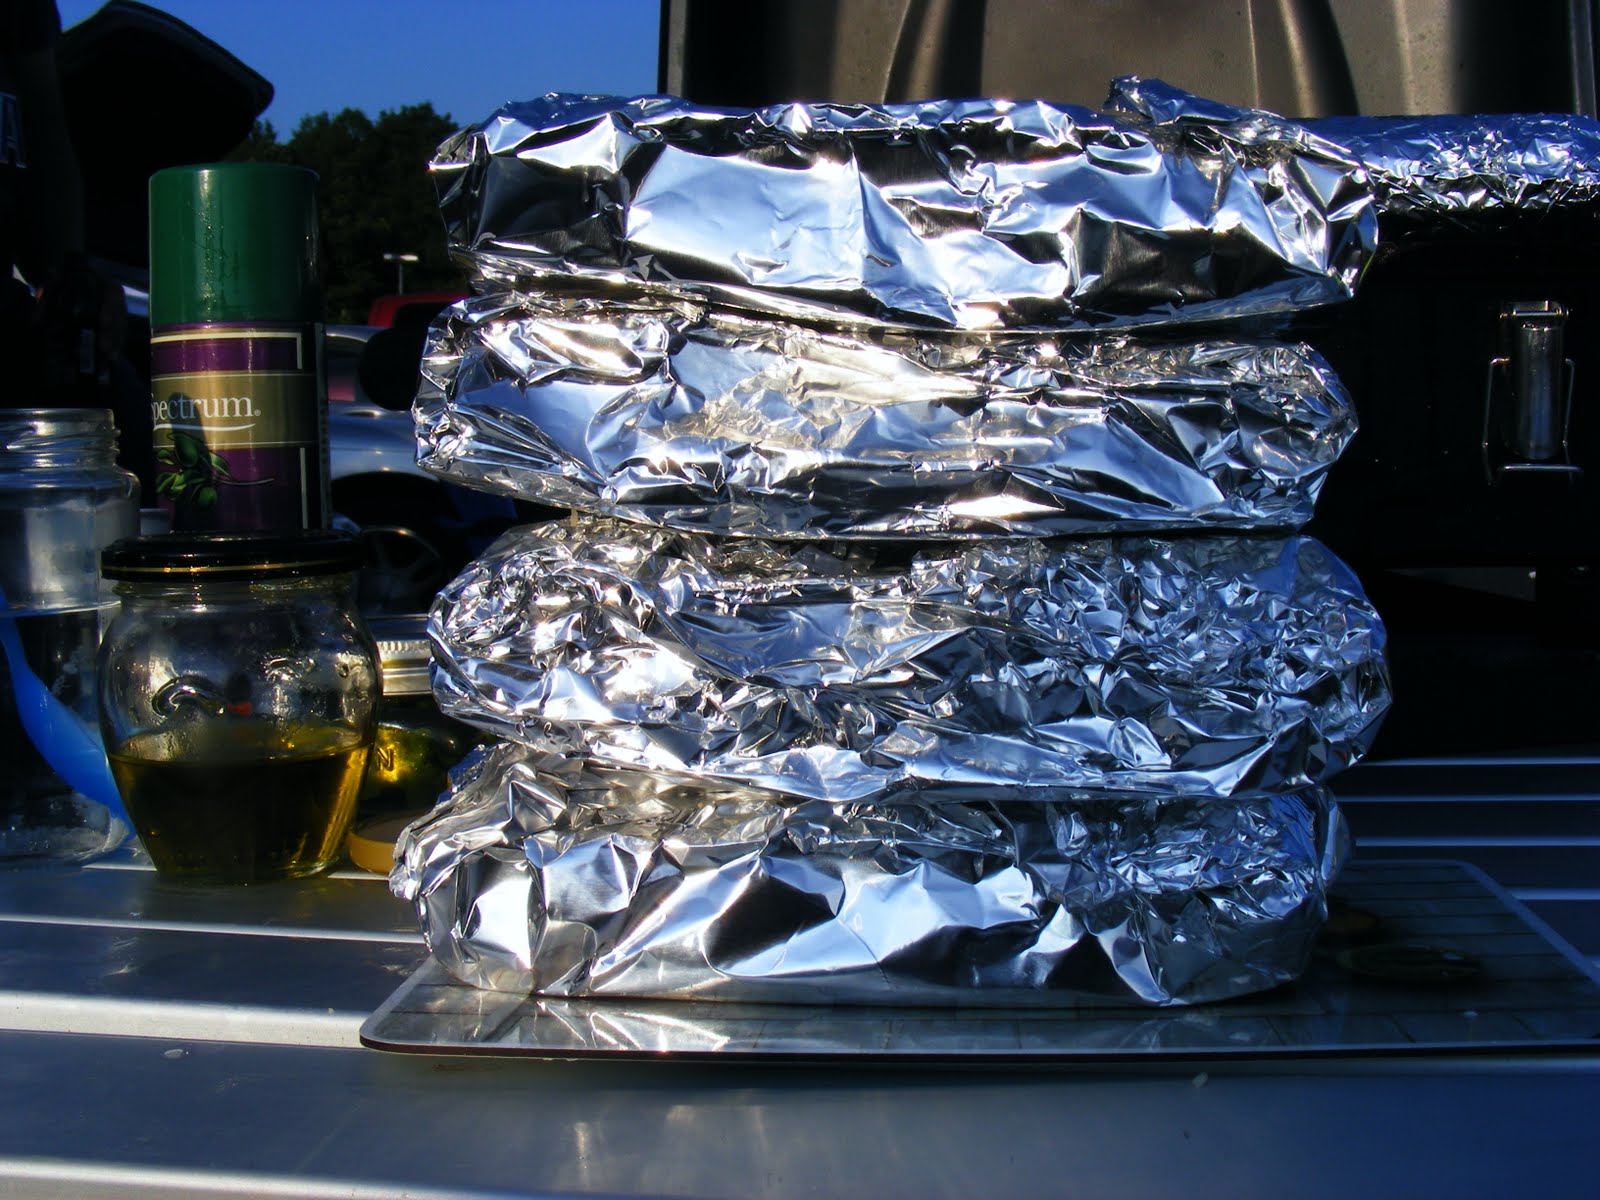
I'll admit I was skeptical about the practicality of making lasagna on the grill. In the oven lasagna can take upwards of an hour to cook. Although there is significant prep work in chopping, mixing, and assembling the lasagna for this recipe, the method of cooking is actually fairly straightforward. Essentially, you steam individual-sized lasagnas in packets of foil using a small amount of water. No-boil lasagna noodles, while strange in concept, are really convenient here.


I attribute the success of this lasagna to using very fresh produce (thanks to Farmer Dave's). Because the filling has only a handful of ingredients, flavorful tomatoes and basil truly made the dish.
really, really tasty tomatoes from Farmer Dave's
Grilled Caprese Lasagna
adapted from Food Network

Ingredients
  1 1-lb ball fresh mozzarella, halved and thinly sliced
  1/2 cup grated parmesan cheese
  2 pinches of red pepper flakes (or more, to taste)
  Kosher salt
  3 cloves garlic, grated
  1 tablespoon extra-virgin olive oil, plus more for drizzling
  2 large tomatoes, thinly sliced
  3/4 cup crushed tomatoes
  12 no-boil lasagna noodles
  5 oz baby spinach
  1/3 cup ricotta cheese
  1/3 cup chopped fresh basil
  About 2 cups water, divided

Preparation
1. At home: Combine mozzarella, parmesan, red pepper flakes, 1/2 teaspoon salt, 2/3 of the garlic in a bowl; drizzle with olive oil and toss. In a separate container, season the sliced tomatoes with salt and pepper. In a third bowl, mix the crushed tomatoes, remaining garlic, a pinch of salt, and tablespoon of olive oil in a bowl.  
2. At the game: Preheat grill to medium. Lay out four double-layer sheets of foil. Drizzle each with olive oil, top with one noodle and sprinkle each noodle with a tablespoon of water. Layer some spinach, sliced tomatoes, and mozzarella mixture among the noodles. Repeat with another layer of noodle, water, spinach, tomatoes, and mozzarella mixture. Top each stack off with a third noodle, one tablespoon of water and a drizzle of olive oil. Close the foil and crimp edges tightly to make flat packets.

3. Grill the packets, covered, about 10 minutes per side. Let rest five minutes. Open the packets and cut the lasagna in half (if you intend to share. Or leave it and eat the whole damn thing yourself, as I did.) Top with the crushed tomato mixture, ricotta, and basil.

Goes well with late summer corn!


Asphalt Kitchen model, Joe, enjoying an ear of grilled corn


Wednesday, June 1, 2011

Grilled Pizza Margherita: Revs 0, Galaxy 1


Yes, it's true. I've made this before. And posted pictures of it on my blog. But when Julie asked if I would cook for her teenage niece and nephew at this weekend's tailgate, a grilled pizza seemed like the perfect crowd pleaser. Besides, I didn't include the full recipe last time around.

I toyed with the idea of switching up the toppings, but pizza margherita is just so satisfying on a hot day. You read that right! Finally, a hot day at Gillette!

This method of preparation can certainly be applied to any sort of pizza with any sort of toppings. The high heat of the grill makes for good hot cooking (read: crispy and slightly charry crust).

(We also had delicious snacks. Thanks, Julie!)
Grilled Pizza Margherita
Ingredients
 raw pizza dough (recipe here or buy pre-made at your grocery store - often near the bakery section).
 classic pesto (recipe follows)
 olive oil
 tomatoes, thinly sliced
 mozzarella cheese ball, sliced into discs
 Handful of fresh basil leaves
 Crushed red pepper, to taste

Preparation
 1. Heat grill until it is quite hot (medium high is appropriate if you have a gas grill).
 2. Keep all tools close at hand, including long metal tongs, a spatula, and a brush. Have your toppings sliced and ready to go.
 3. Stretch your pizza dough into a large circley shape.
 4. Brush dough with olive oil on one side.
 5. Place dough on grill, olive oil side down. Brush the other side with a little olive oil, too. Allow the dough to cook until it has brown grill marks on it but is still soft on top.
 6. Carefully flip dough using your spatula/tongs.
 7. Immediately spread a generous layer of pesto onto cooked side of dough and top with tomatoes, mozzarella, and basil to your liking.
 8. Close grill lid and allow to cook for about 5 minutes, or until cheese is the right amount of gooey and dough has the right amount of charry grill marks.
 9. When pizza is cooked to your liking, remove by dragging from the grill with your tongs. Allow to cool, then enjoy!

Classic Pesto
Ingredients
 2 tablespoons pine nuts
 2 garlic cloves, peeled
 3 tablespoons olive oil
 4 cups fresh basil (about 4 oz)
 1/2 cup grated fresh parmesan
 1/4 teaspoon salt

Preparation
 1. Place nuts and garlic through food chute with food processor on; process until minced.
 2. Add oil and pulse 3 times.
 3. Add basil, cheese, and salt. Process until finely minced, scraping the side of the bowl once.


Related Posts Plugin for WordPress, Blogger...